PREMIUM skirting board in SOLID wood mod. DUCALE 91x15 smooth white lacquered (price per metre)
PREMIUM skirting board in SOLID wood mod. DUCALE 91x15 smooth white lacquered (price per metre)
Available in stock (2977)
Couldn't load pickup availability
I tuoi dati di pagamento vengono elaborati in modo sicuro. Non memorizziamo i dati della tua carta di credito né abbiamo accesso alle informazioni della tua carta di credito.
Descrizione
Descrizione
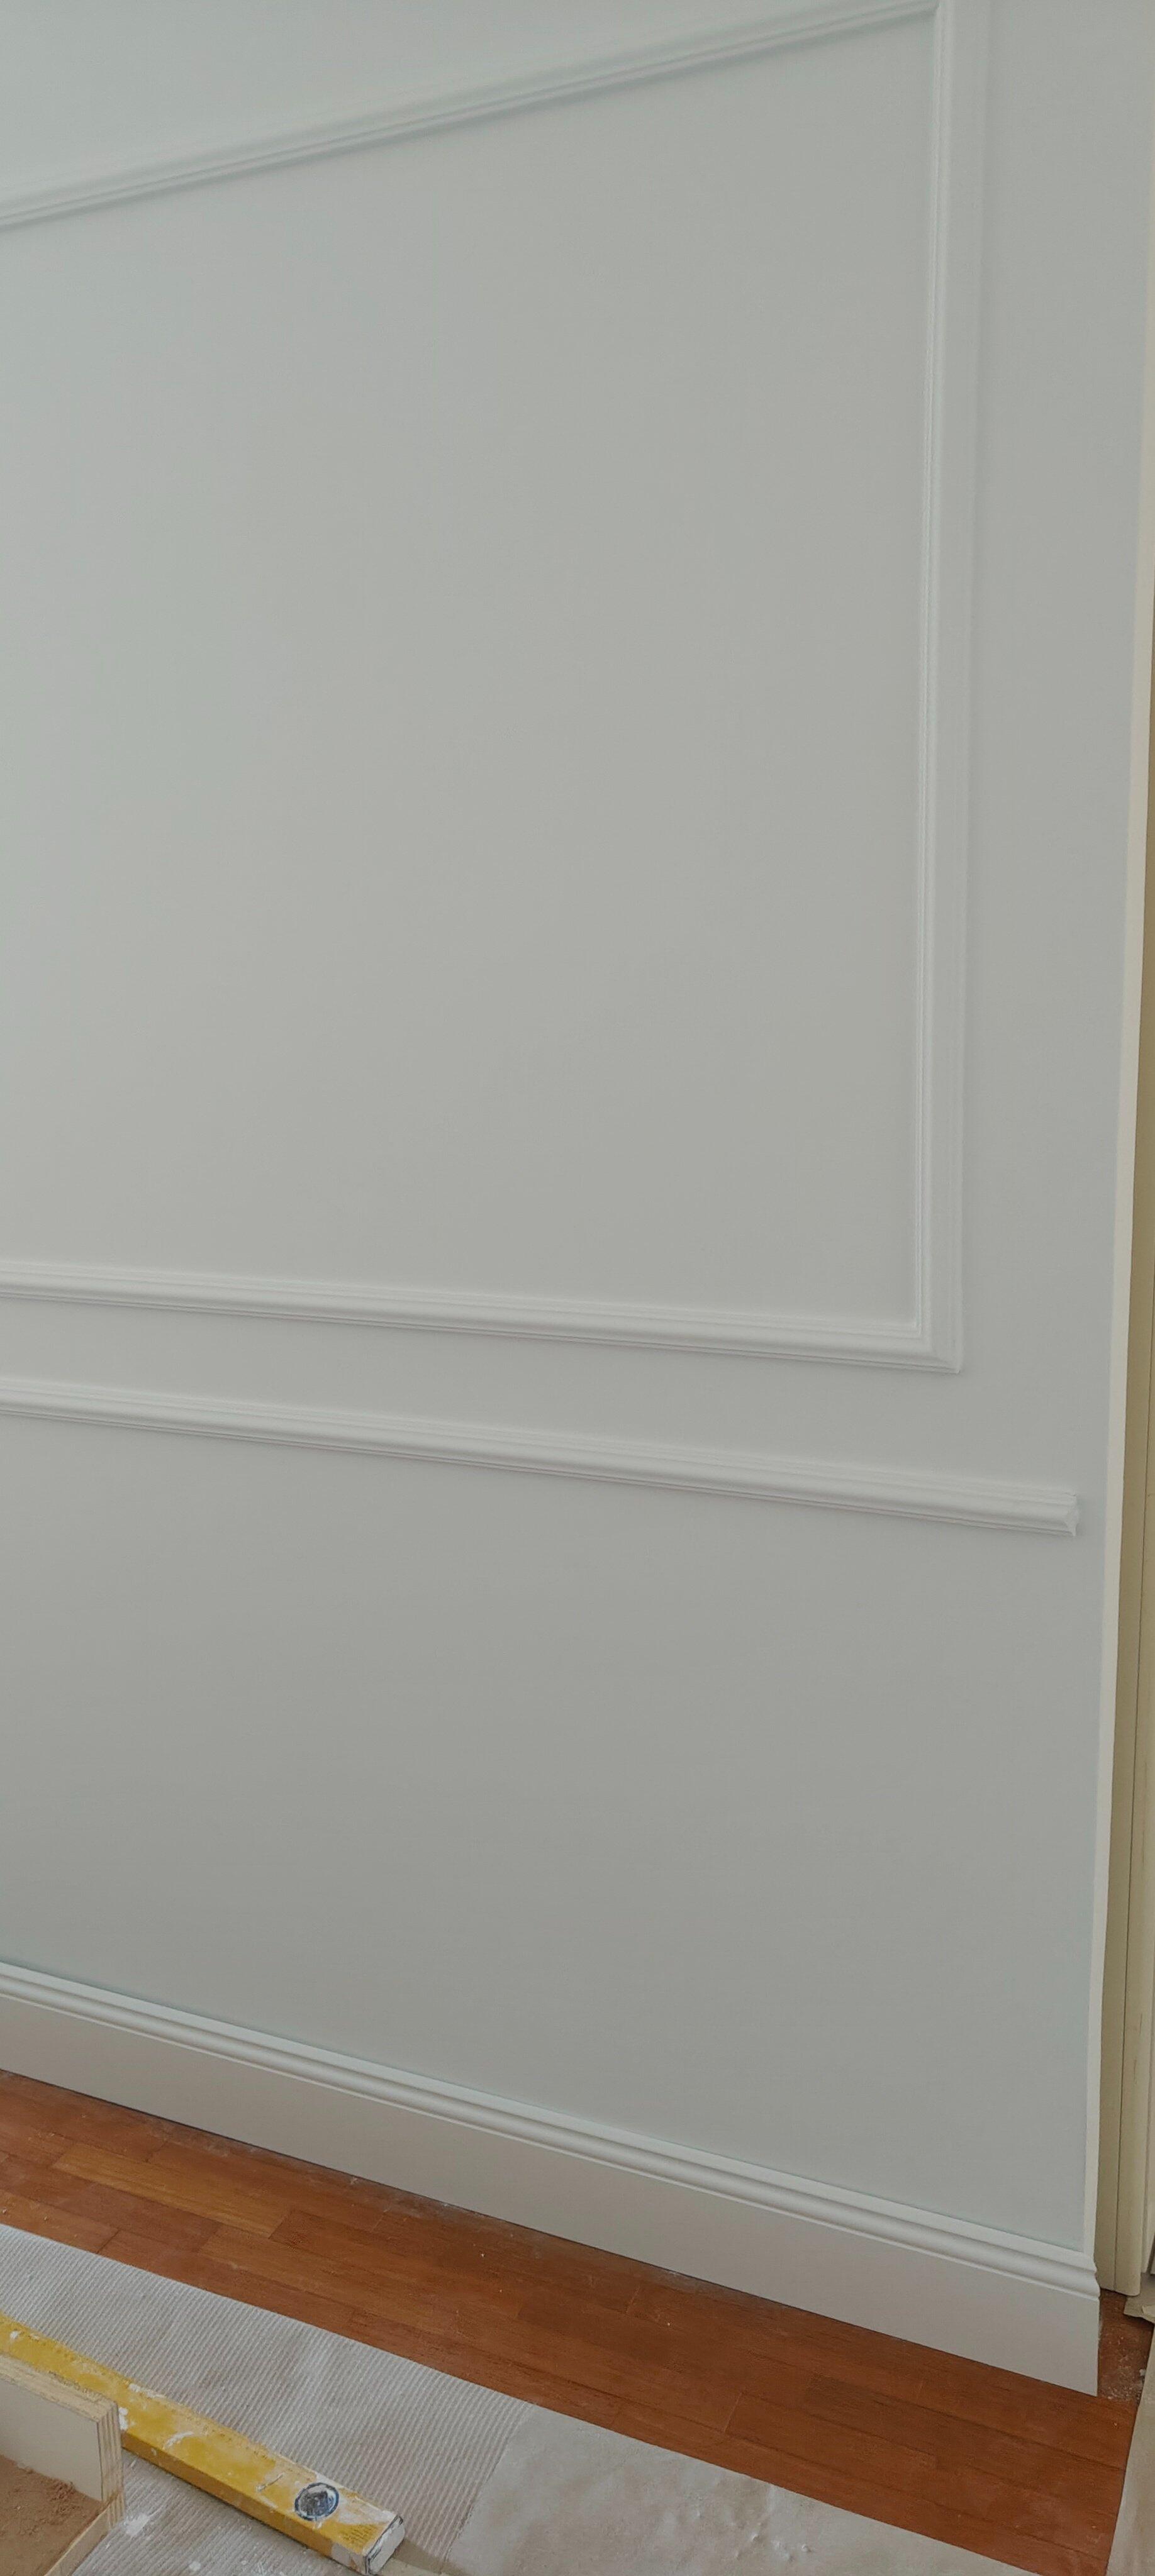
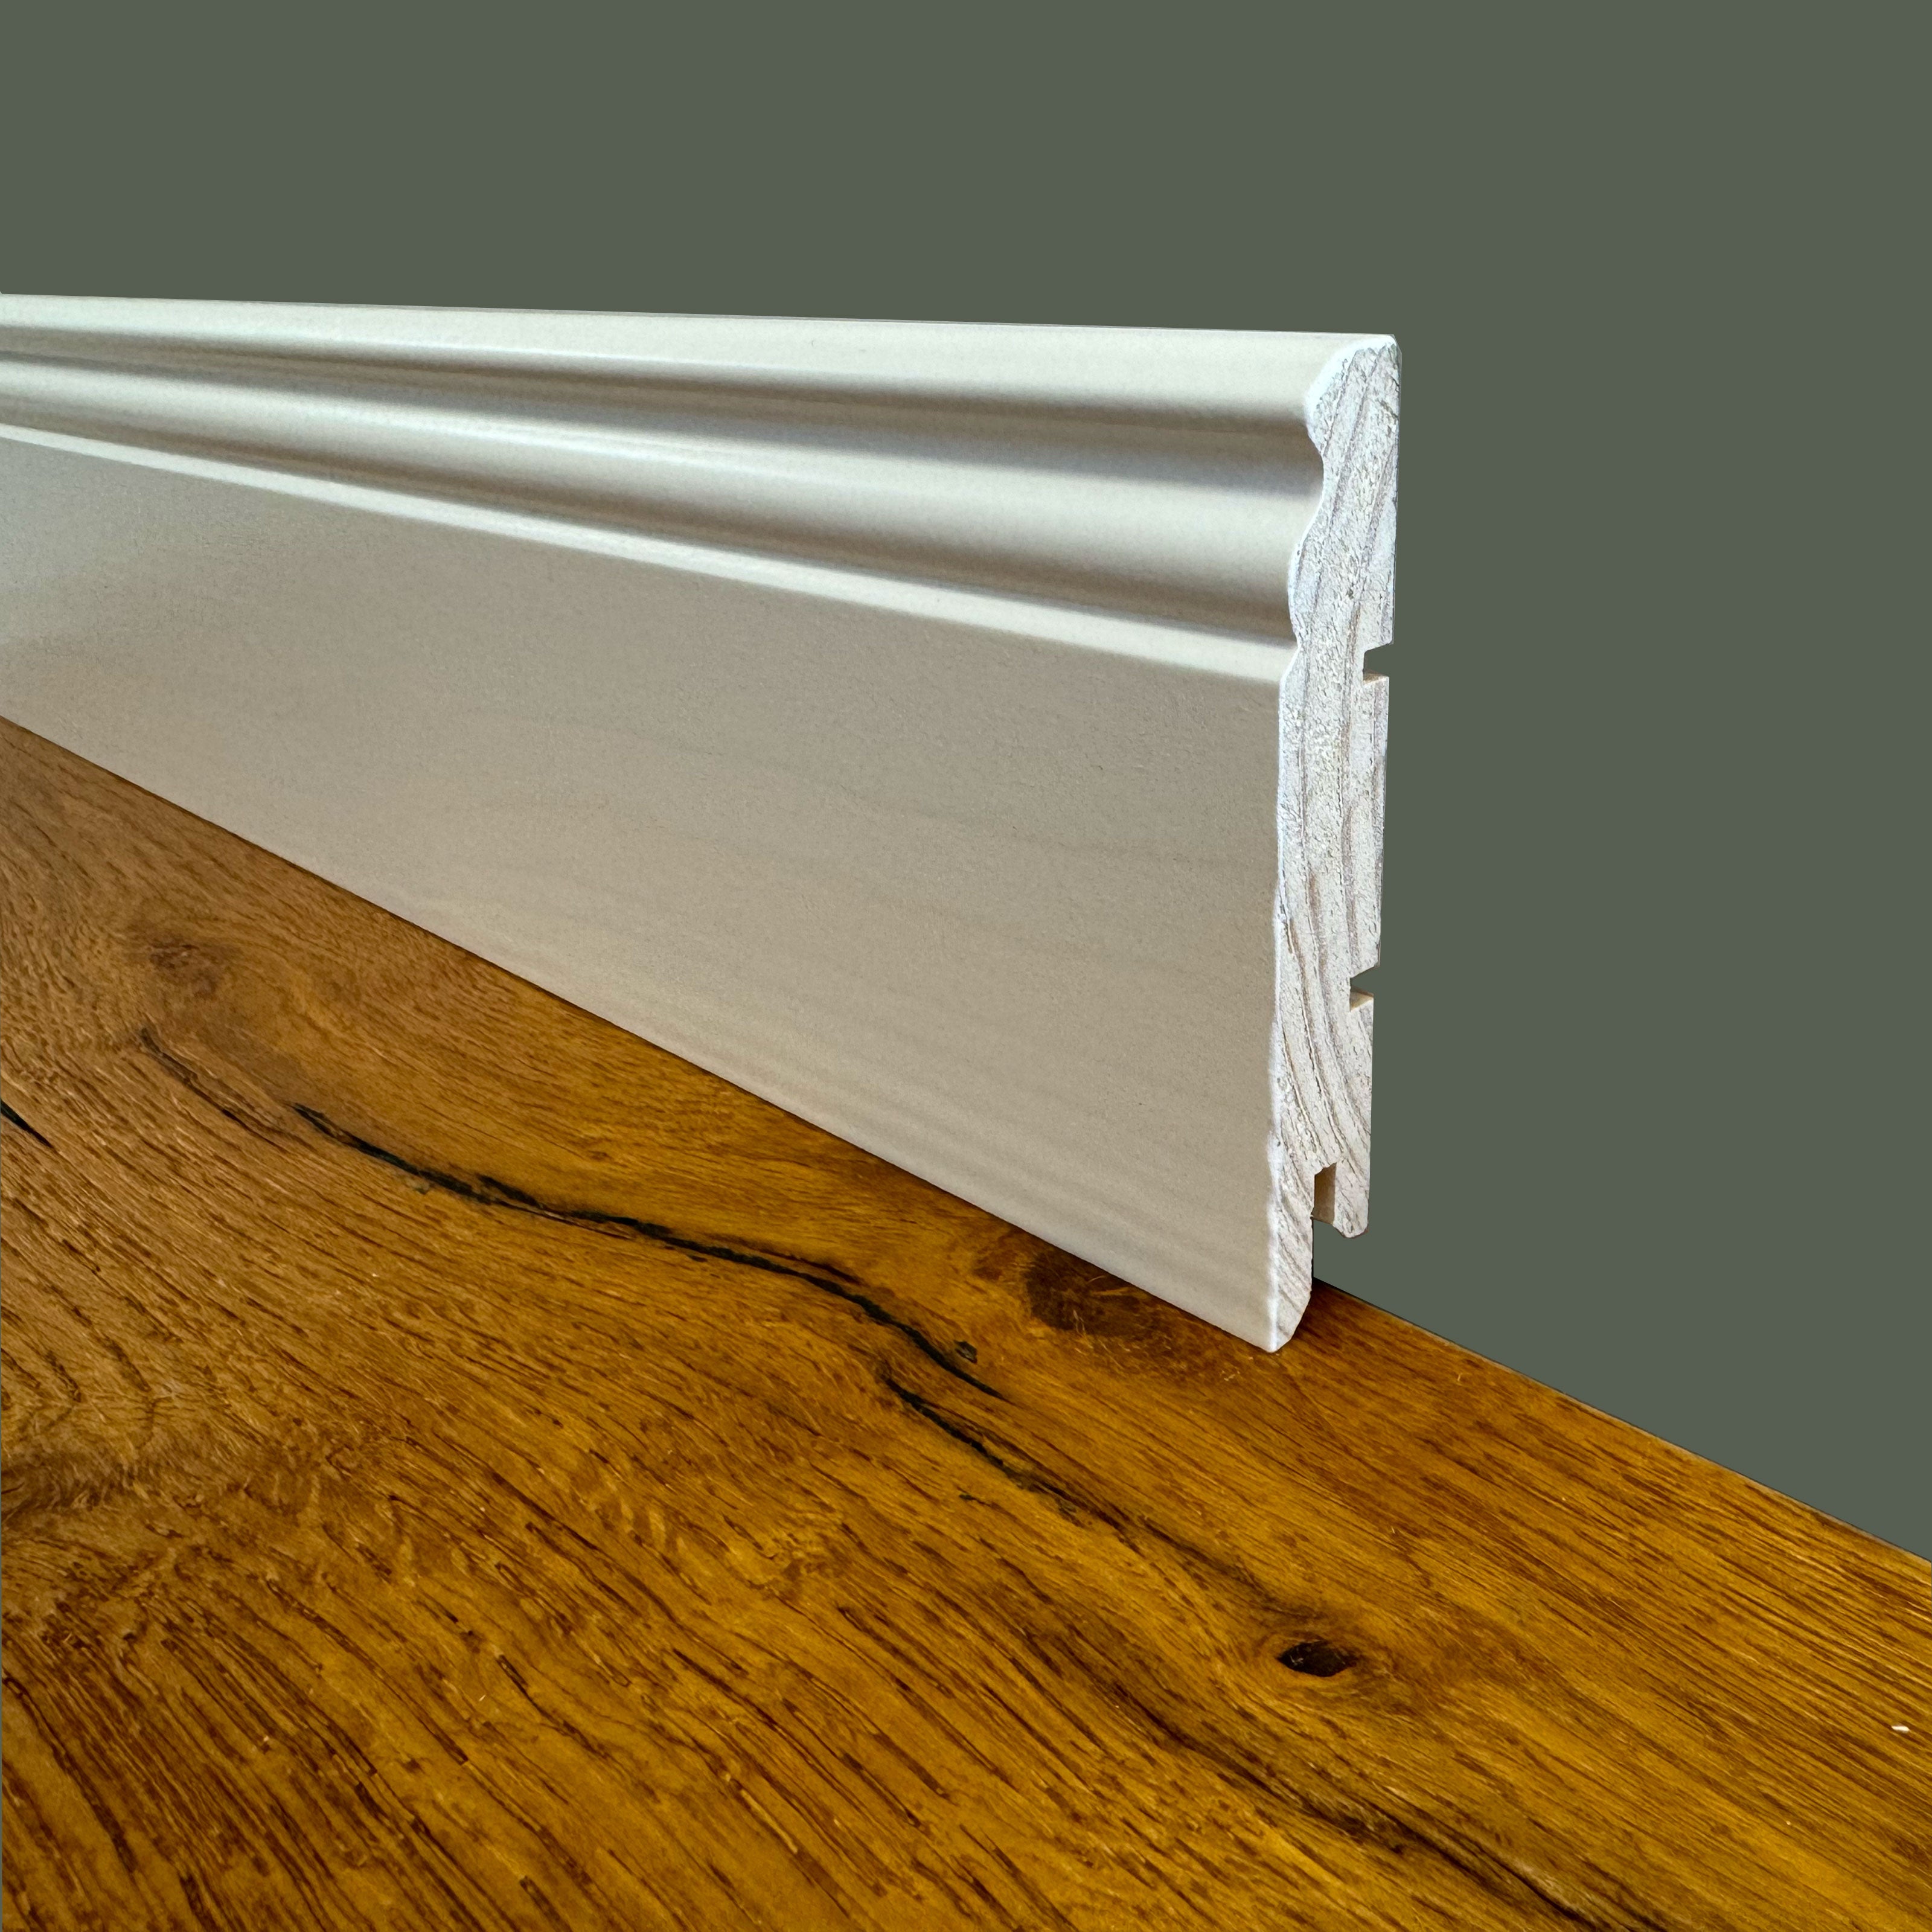
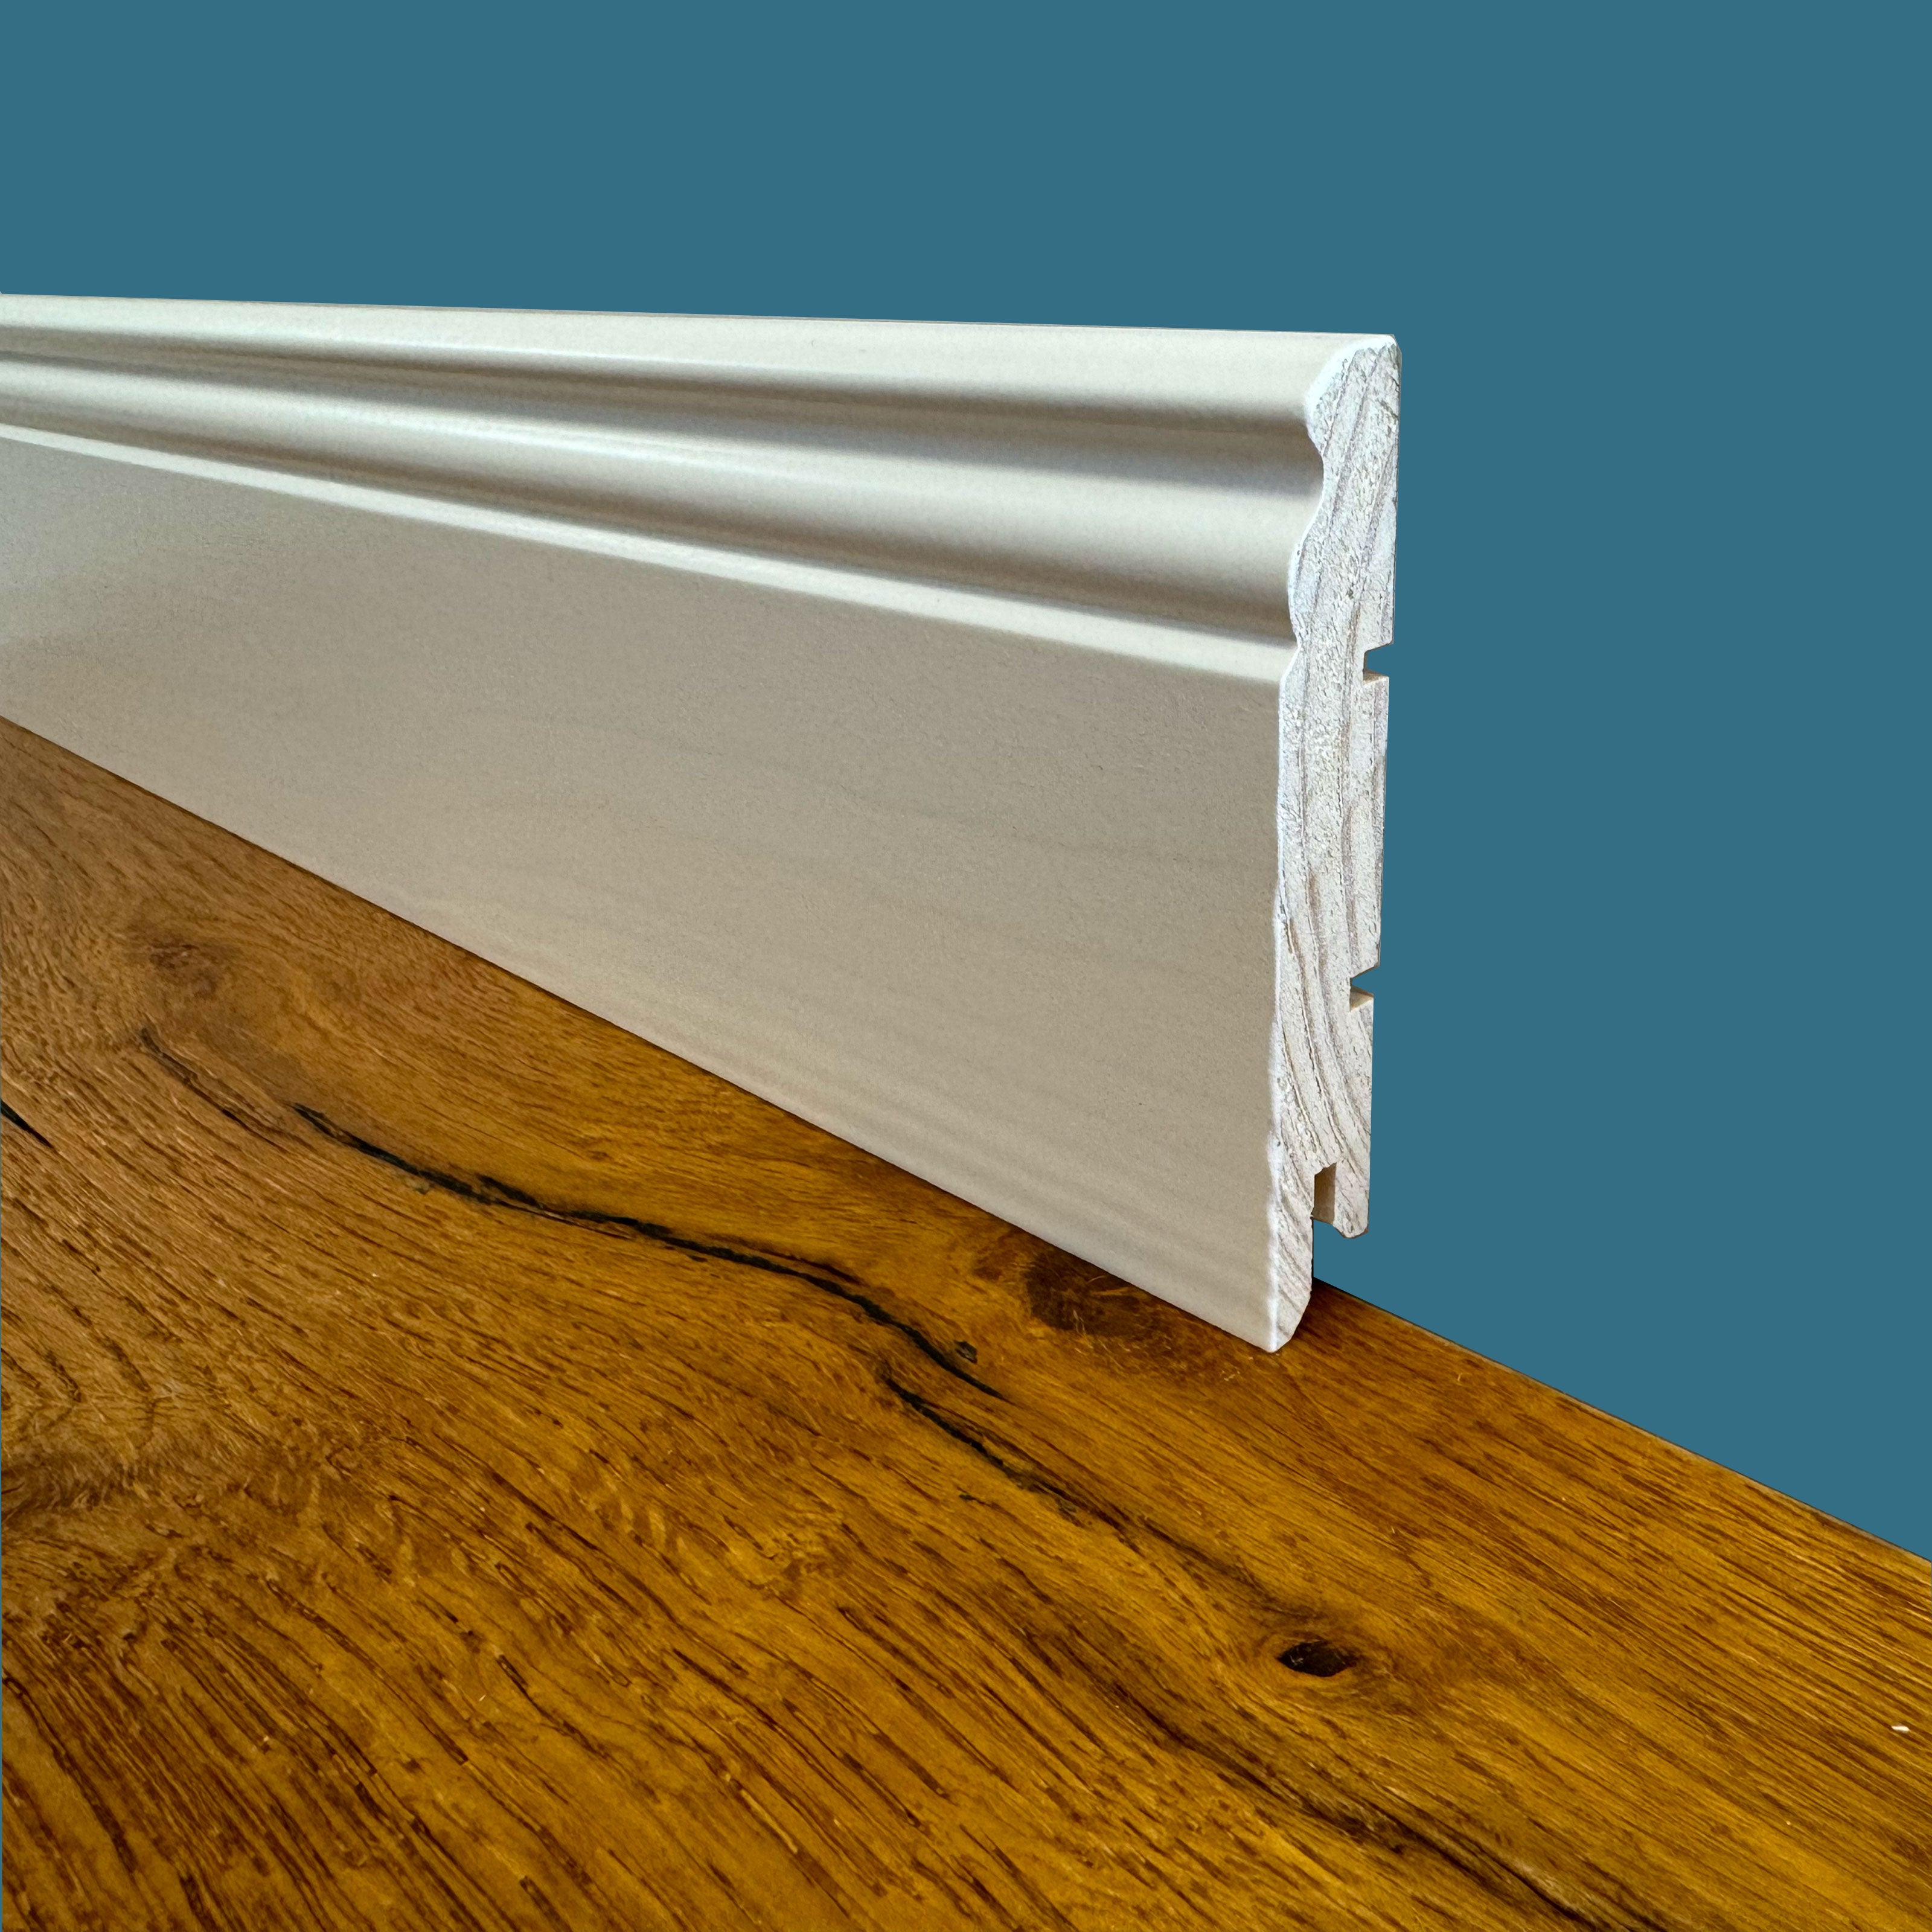
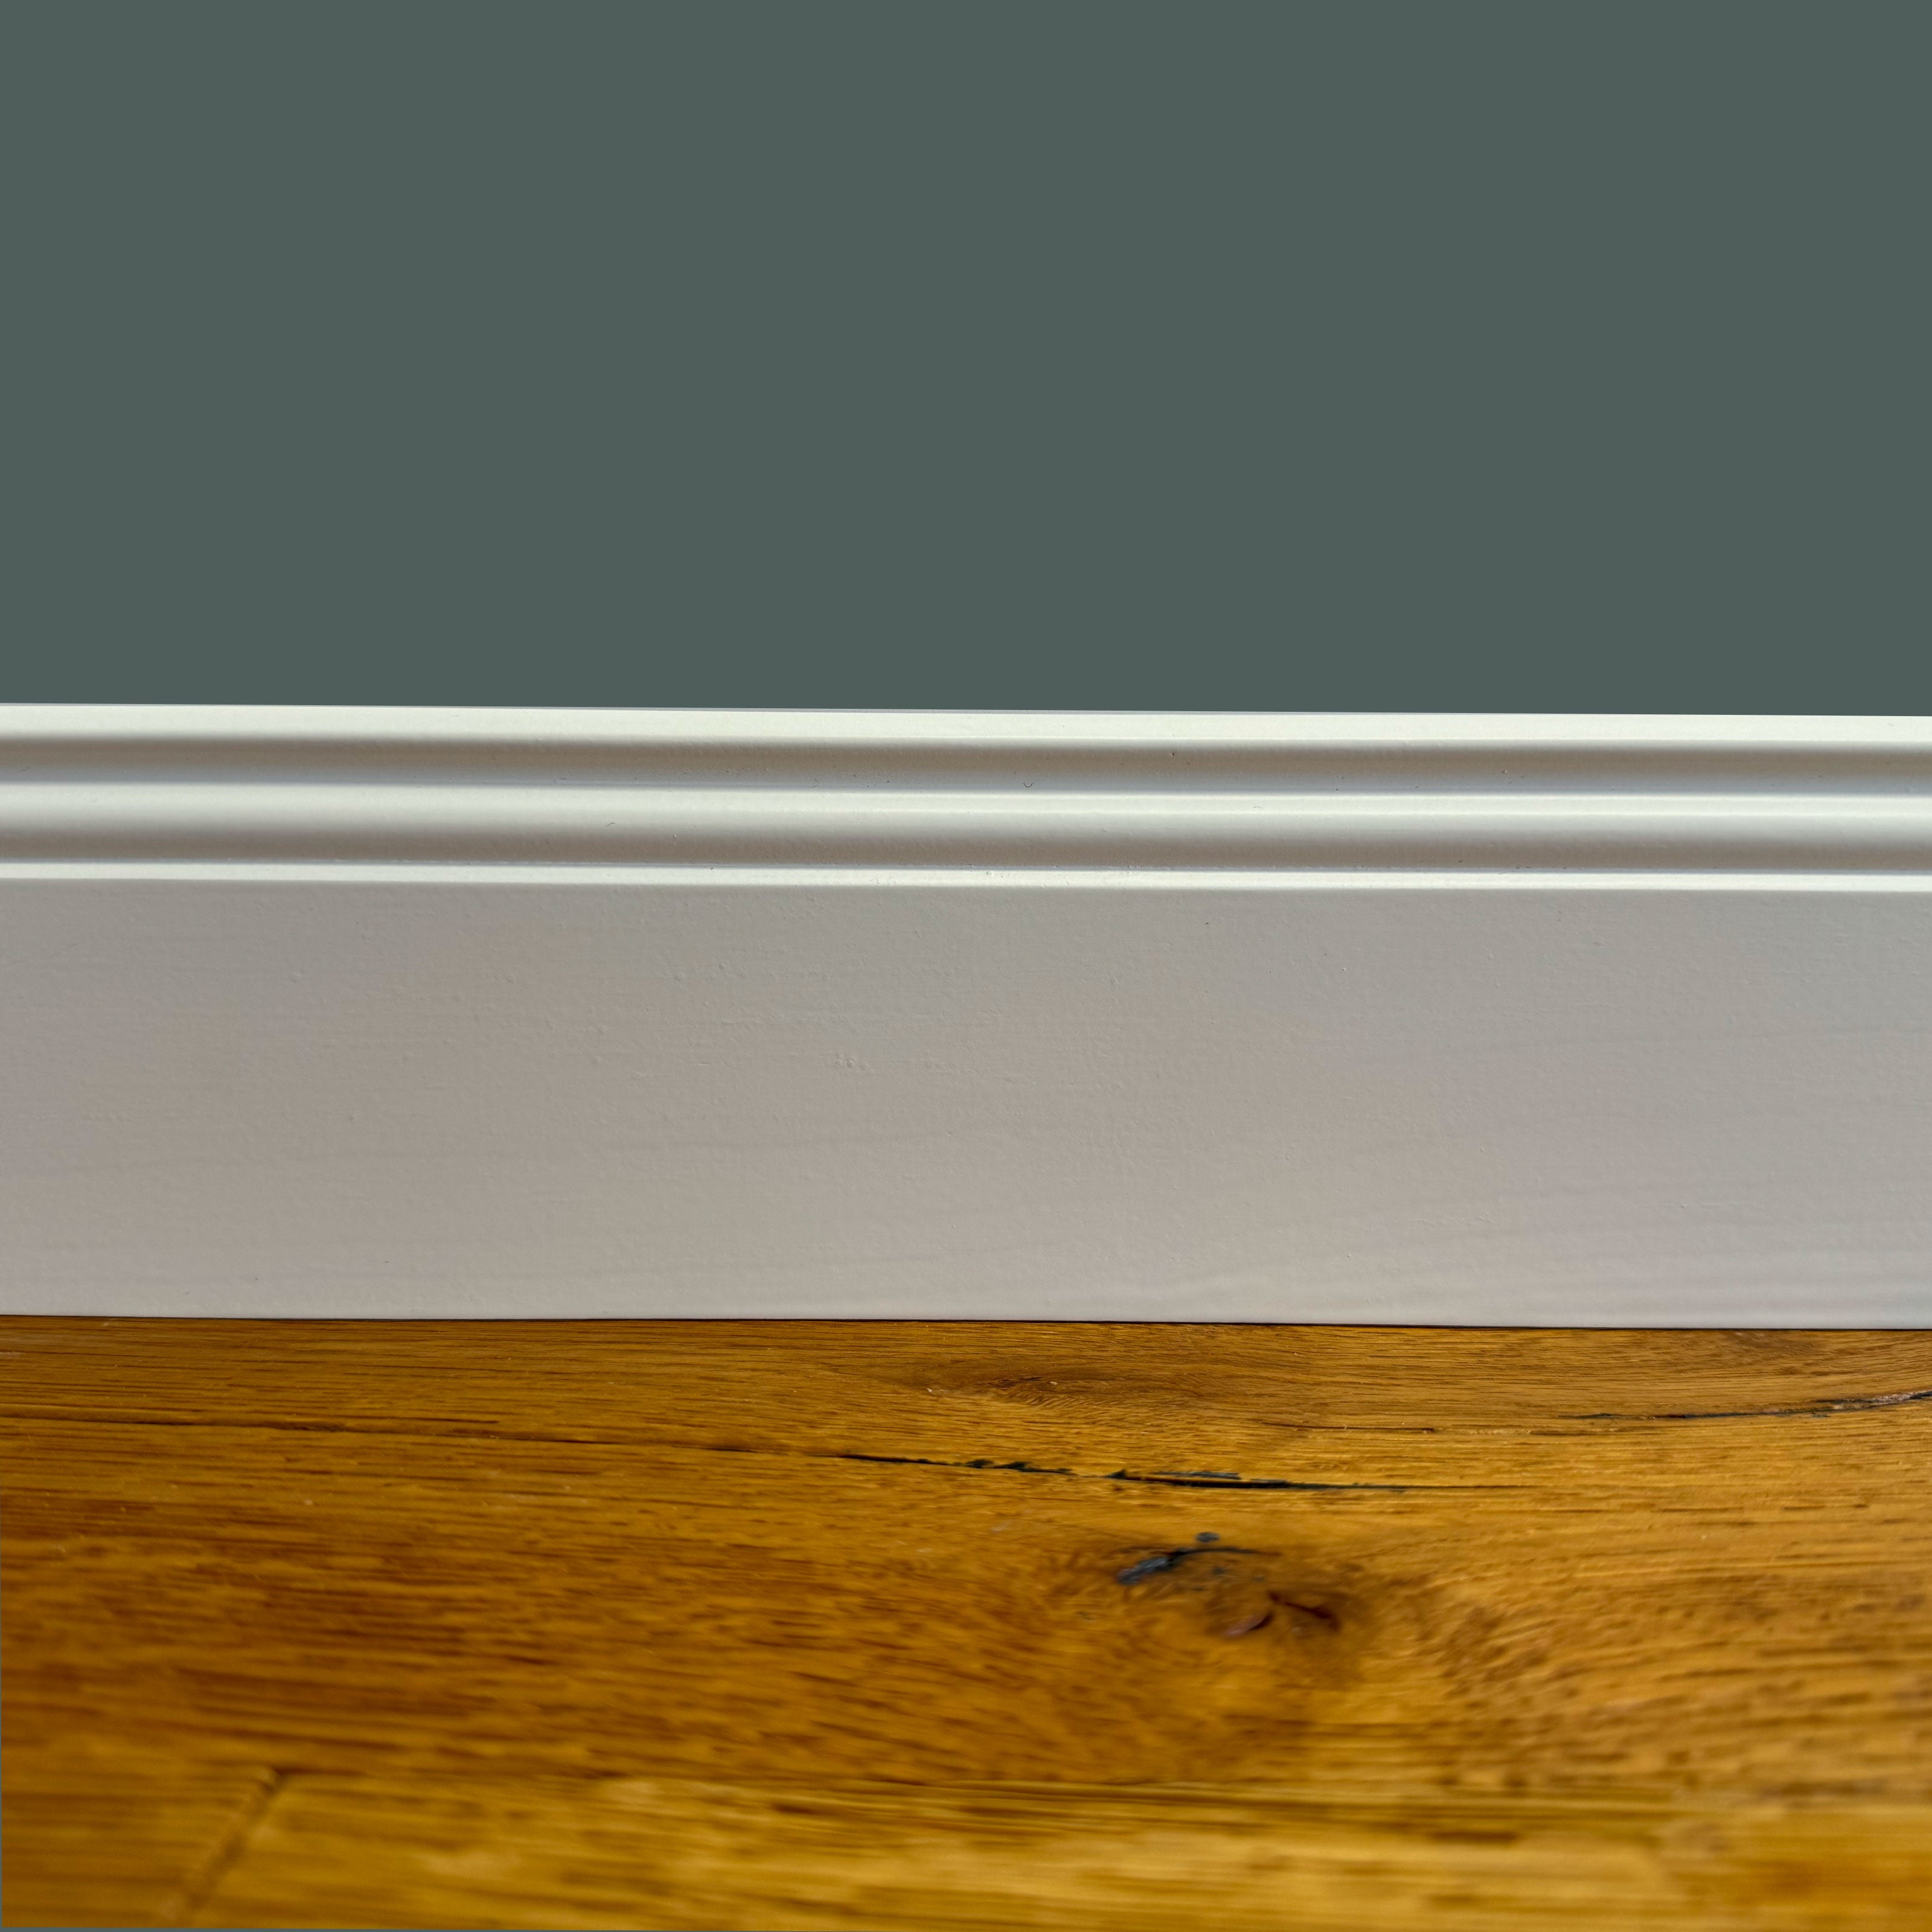
PREMIUM skirting board in SOLID wood mod.DUCALE 91x15 smooth white lacquered
A full 9.1 centimeters high and 1.5cm thick (temple length 2.40m)
€4.49 PER ML VAT included (Transport €22)< /p>

WARNING! The price is per linear metre, as many items as the linear meters to be ordered must be placed in the cart, the skirting board will arrive in entire rods, the last rod will be cut when the meters ordered are reached.
MATERIAL: Selected first choice knotless solid pine
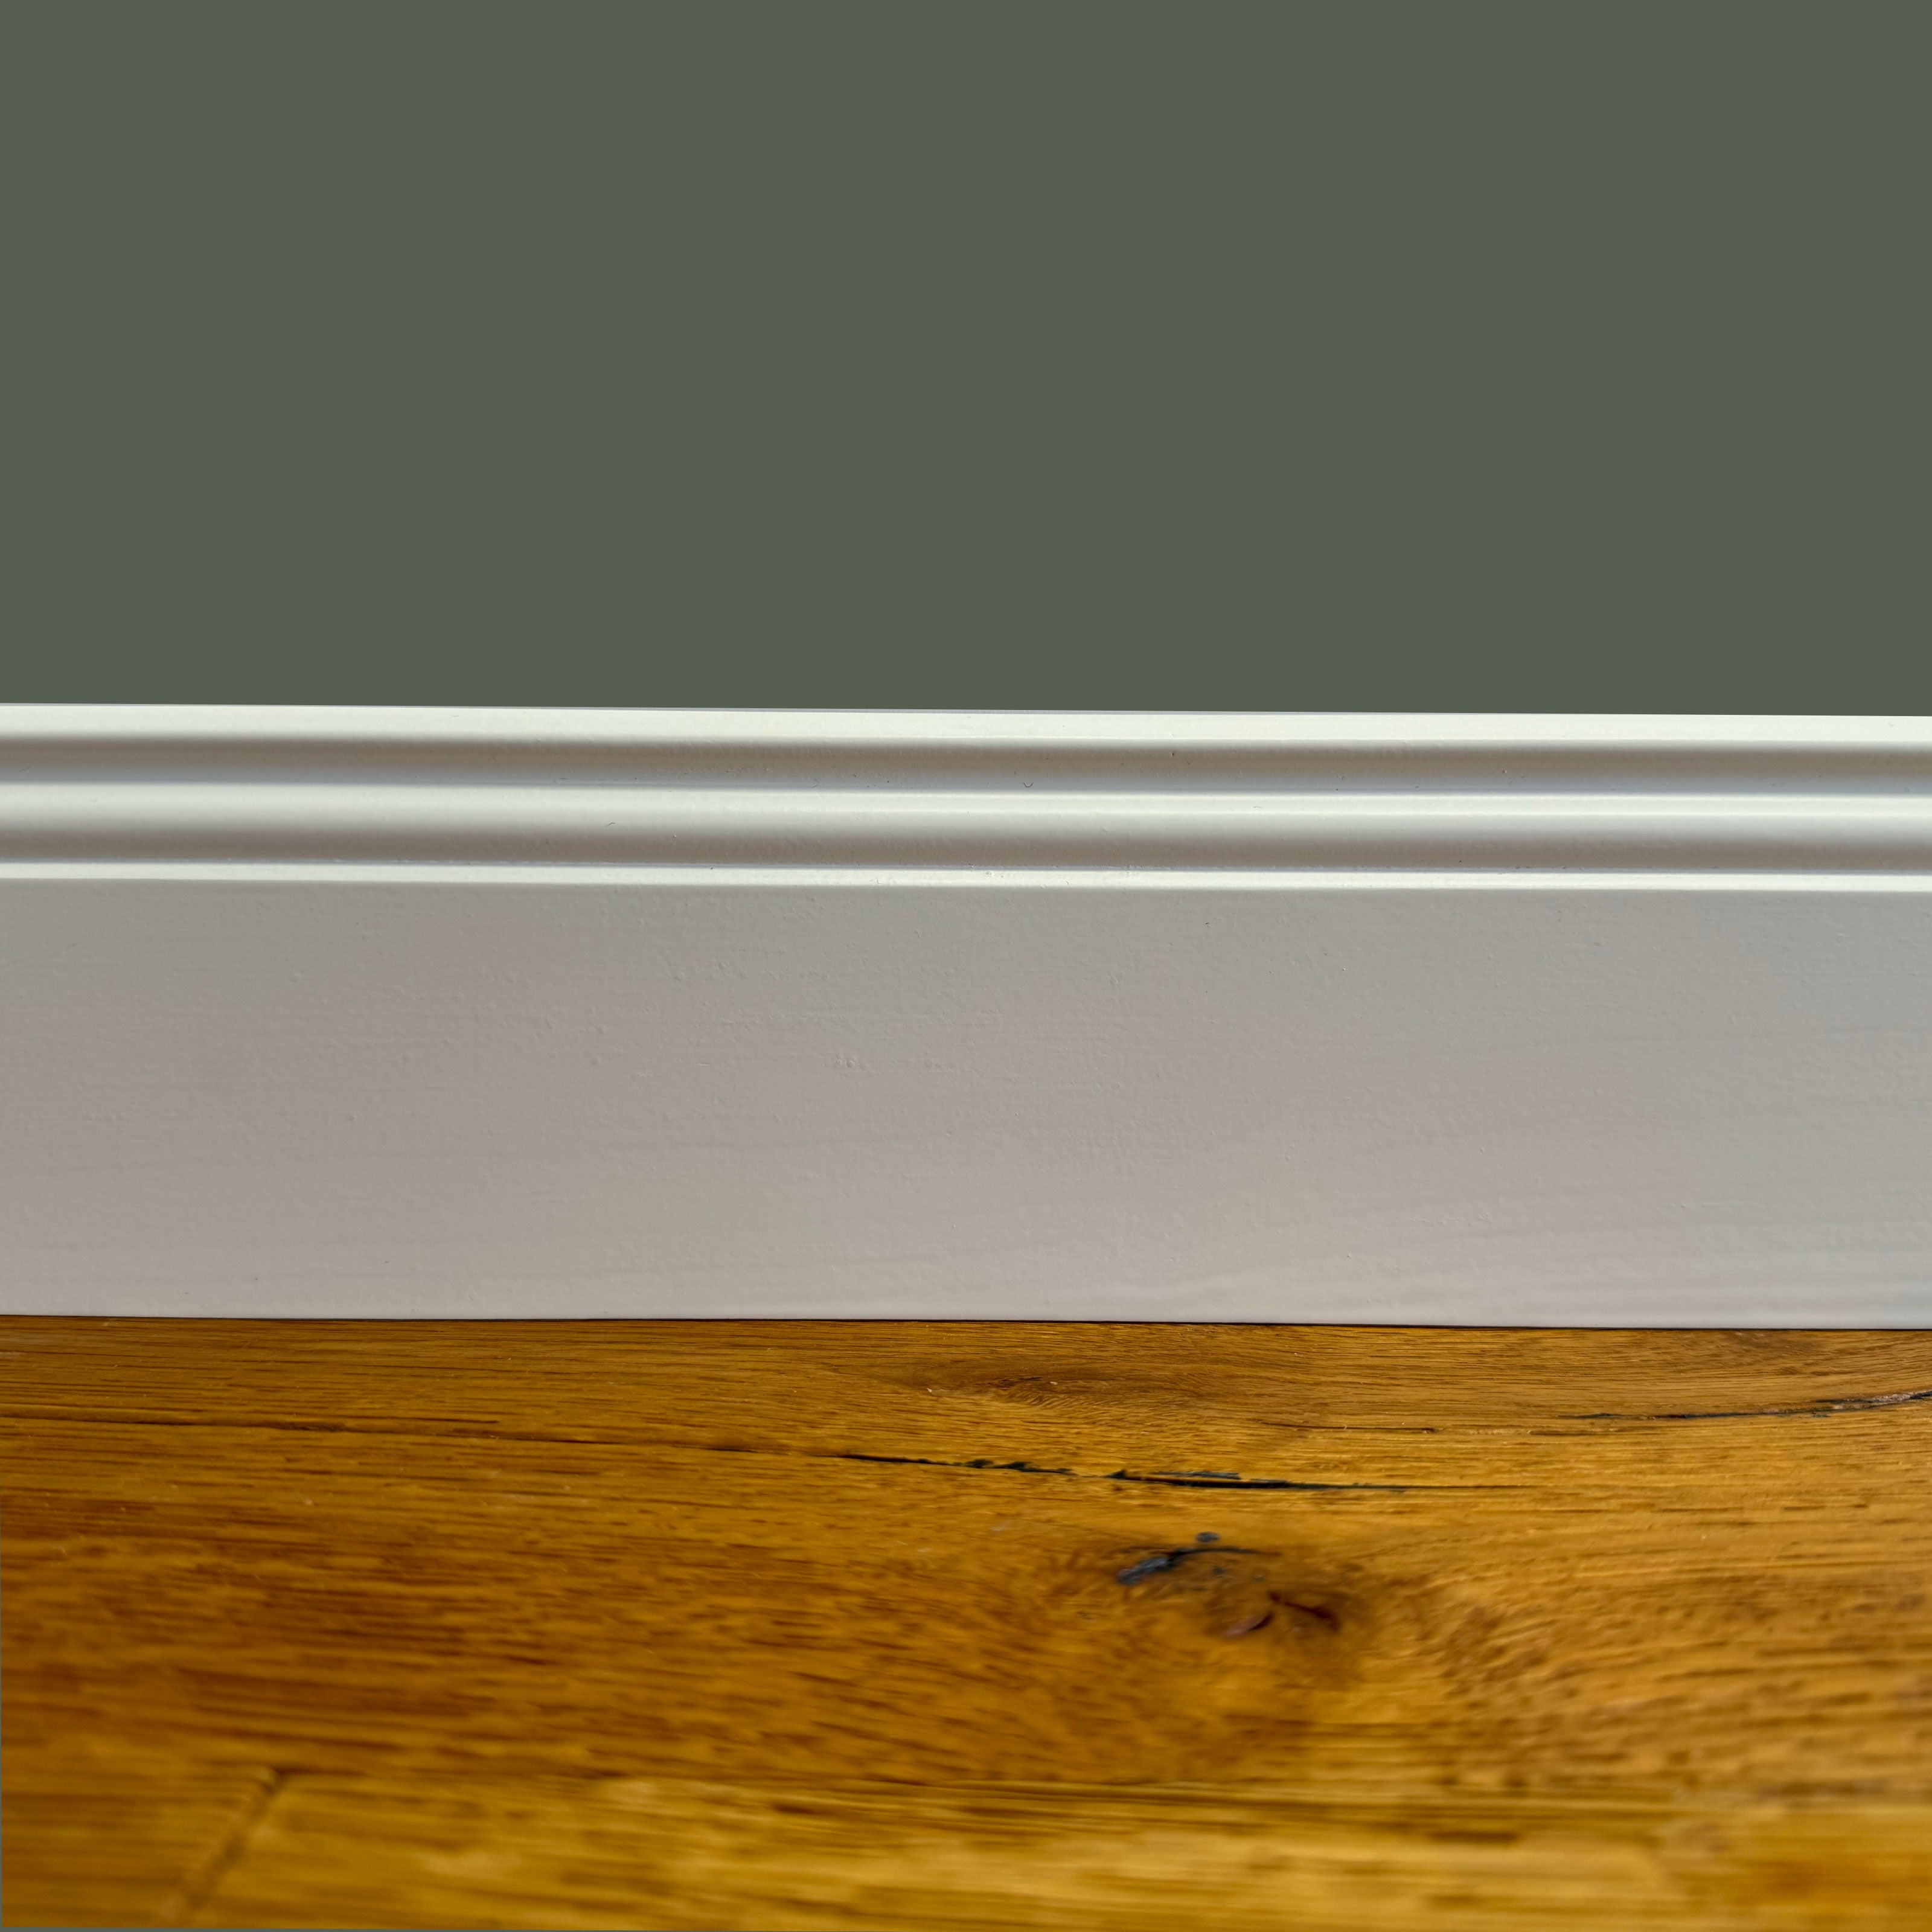
FINISH: Highly resistant multi-coat industrial ecological smooth lacquering
COLOUR: Basic white, synoptic (roughly equivalent to RAL 9016)
ARM LENGTH: We guarantee lengths from 2,200ml to 2,40ml per rod (the price is still per metre) < /p>
OUR PREMIUM SKIRTING BOARDS in SOLID wood
We present our Top of the Range skirting boards in first choice solid pine, covered with a brilliant white lacquer (it is a basic white, synoptic or RAL 9016). Designed with precision and with attention to every detail, our premium skirting boards transform any room into a space of refined luxury.
The flagship is our innovative multi-coat ecological lacquering technology which guarantees a perfectly smooth and silky finish. Not only do they look beautiful, but they are also sturdy and durable, resisting both moisture and shock, making them a perfect choice for any home.
Our measures? We boast a range of heights and thicknesses to suit all your needs. Furthermore, each skirting board is also painted on the base, guaranteeing excellent water repellency even after washing the floors.
Our premium skirting boards represent excellence in the sector. With unsurpassed quality and an unbeatable, certifiable price, we are redefining the skirting board market.
Don't settle for mediocre, choose our premium solid pine skirting boards. Because your home deserves the best of the best that the market can offer.
PACKAGES AND PACKAGING:
Each single auction is labelled, the parcels are packed with bubble wrap and cardboard, if large quantities are delivered on a secured and sealed pallet
ATTENTION!!!
This product is included in the financing for energy saving on renovations and therefore deductible from taxes (IRPEF) at 50%.
DELIVERY TIME: approximately 10 days.
We recommend gluing the skirting boards and fixing them with a few nails using a compressor and a nail gun or headless nails by hand.
N.B. skirting boards generally do not arrive "certified" at the ends (i.e. cut with precision at both ends) and, in addition to having to be cut, they may also present small imperfections due to transport (the heads are not usually packaged) or to the painting cycle (paint may have dripped onto the head which prevents normal adhesion), therefore it is normal practice to have to level them by at least 0.5mm during installation. This is typical of all types of skirting boards on the market, of any kind, brand and nature.